Once users have completed their SSL orders on NiiHost, they need to set up their SSL certificates. The setup process is as follows, along with some important notes.
Part 1: Fill out SSL Certificate Application Information on the NiiHost User Console.
1.1 After users have completed their orders, the SSL setup location is: Console - Manage. Click the Manage button as shown in the image below.


1.2 Click the Config Now button as shown below to enter the settings details page.

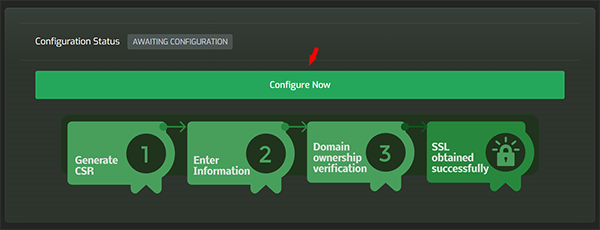

1.3 To generate a CSR, as shown in the image below, select the location indicated by the red arrow, confirm the selection of New Order, and then click the Generate CSR button at the bottom of the image to open the CSR generation window.
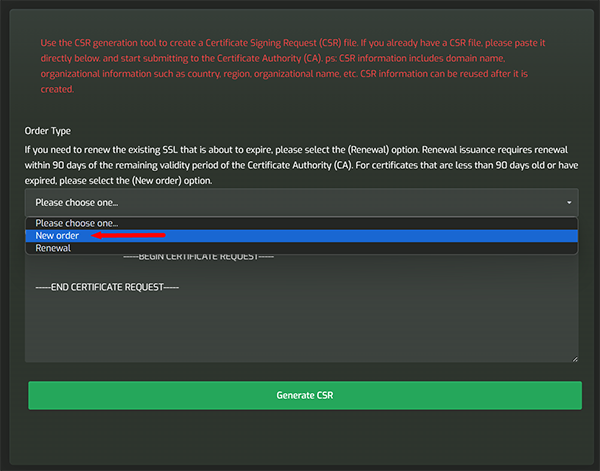
1.4 Fill out the CSR information.
Note: The information marked in red in the image below must be filled out correctly. The Common Name must be the correct domain name, such as: NiiHost.com. Incorrectly filling out the Email Address will result in missing important reminders during the later application process.

After submission, the result is as shown in the image below, where the content has already been generated in the red box.

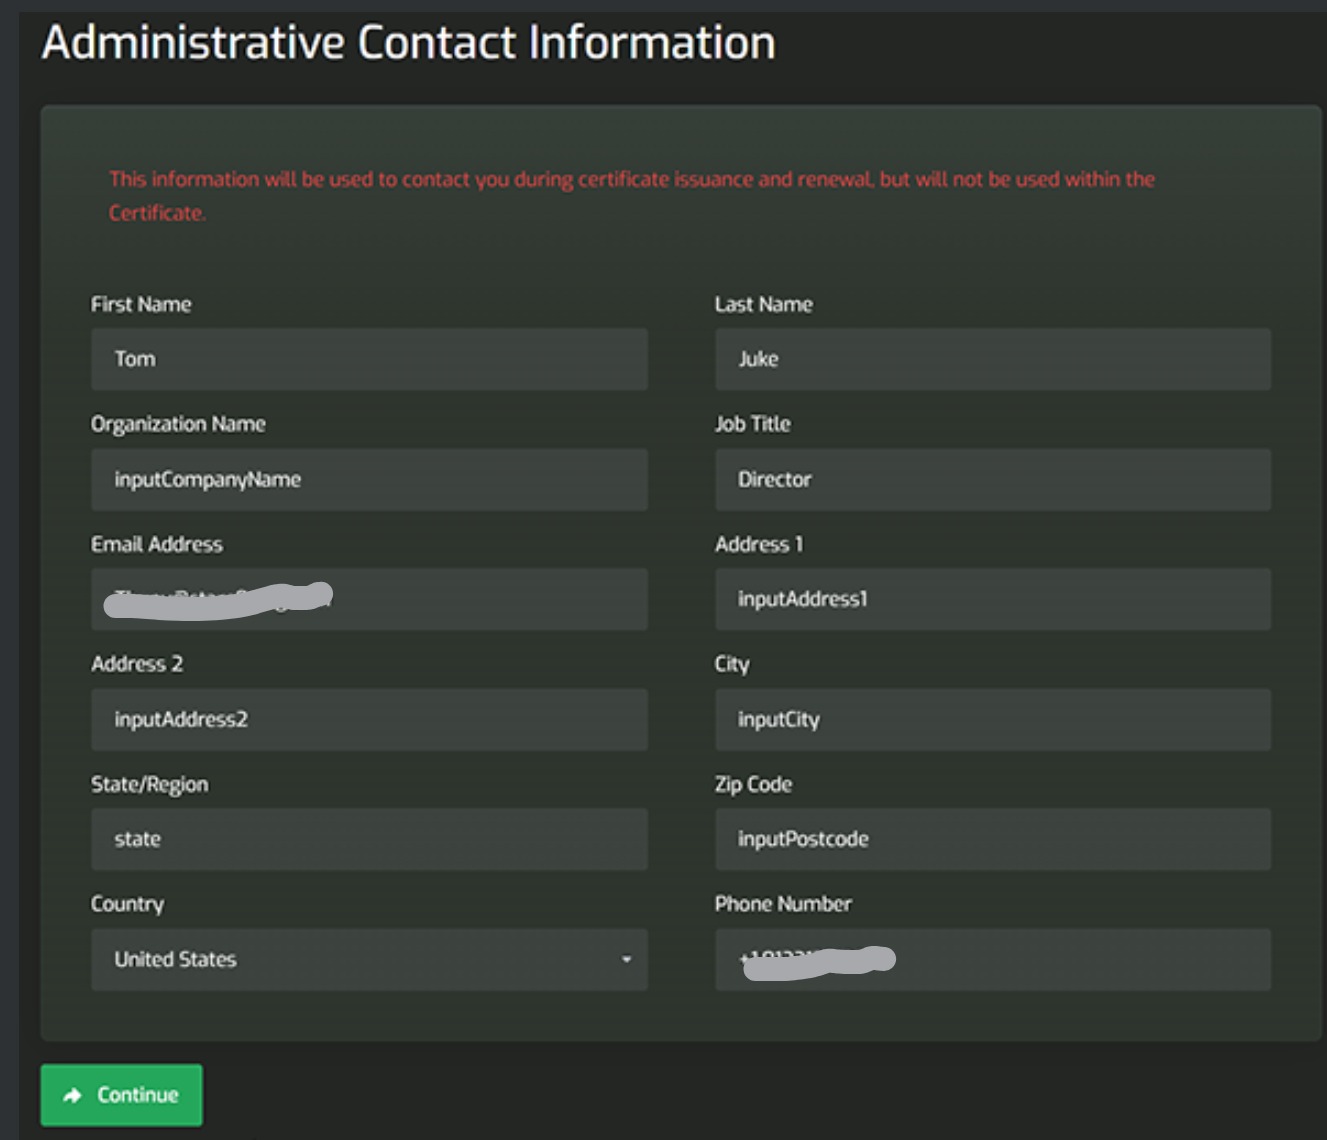
Scroll down the page to fill out the complete Administrative Contact Information, as shown in the example image below. Then click the Continue button at the bottom of the page.
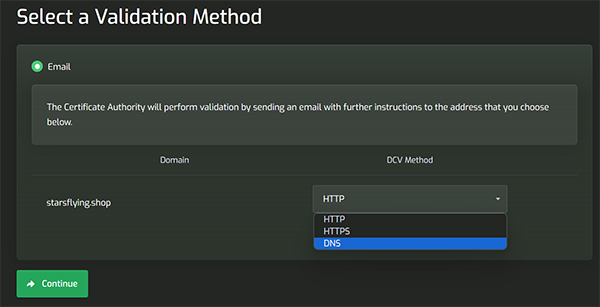
1.5 Choose the authentication method. In the image below, users can choose from three methods for authentication. Here, we use the commonly used DNS method as an example. After confirming DNS selection, click the Continue button.
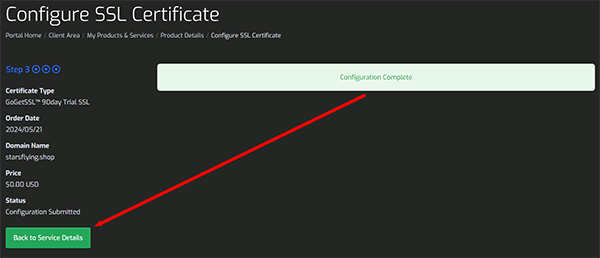
1.6 The first part of SSL certificate setup is complete, with the result shown in the image below. Users need to click the button in the bottom left corner, Back to service details, to proceed with the subsequent application steps.
⬇
Part 2: Complete Certificate Authentication Domain DNS Settings.
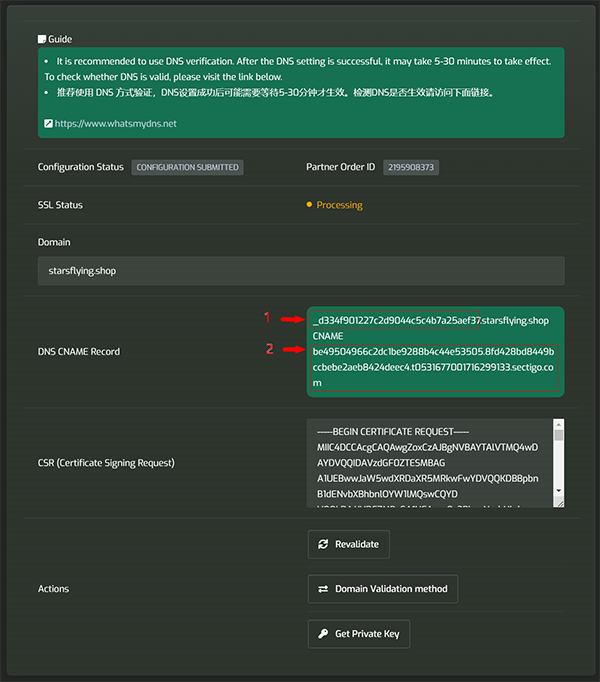
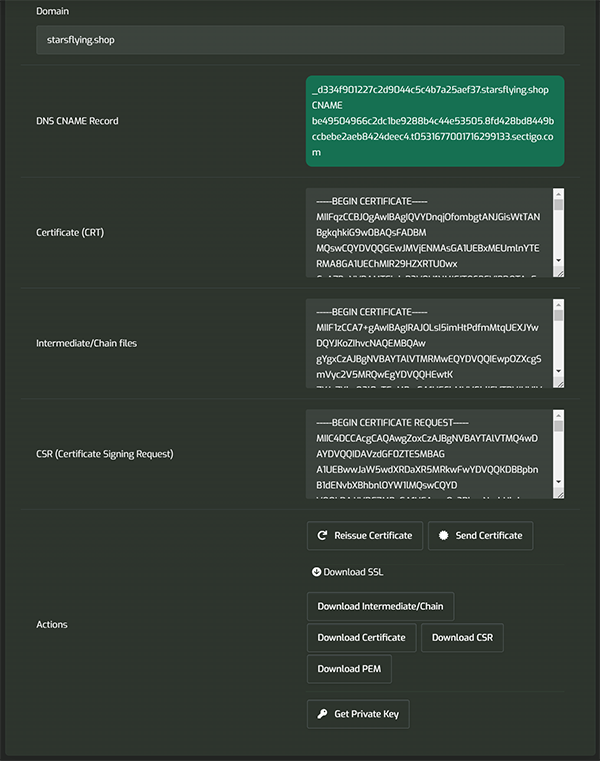
2.1 First, obtain the DNS CNAME Record information, as shown in the image below.
Here, the information is used in the steps below. Firstly, an explanation: Note: In the image below, in box 1, when filling out the DNS, pay attention to whether you need to fill out the domain part after the box. All content in box 2 can be copied in its entirety.
2.2 Users need to open the webpage for the domain application, find the corresponding column for DNS management, and in the example image below, click on CNAME. This will bring up the input area identified by the red box.
Note: Boxes 1 and 2 in the image correspond to the contents of box 1 and box 2 in step 2.1 of this document. Be careful not to copy and paste incorrectly.
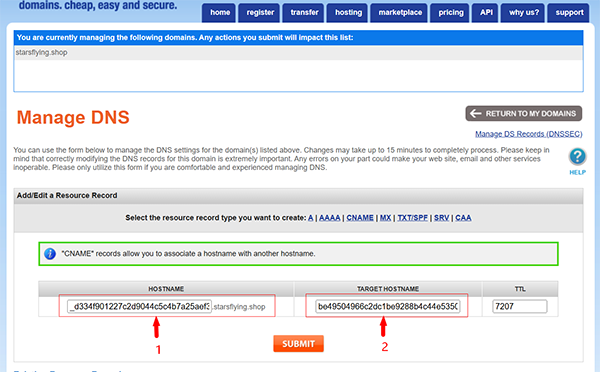
After entering the contents of boxes 1 and 2 in the image above, click the SUBMIT button at the bottom.
2.3 After submission, the system generally provides prompt information, as shown in the image below.
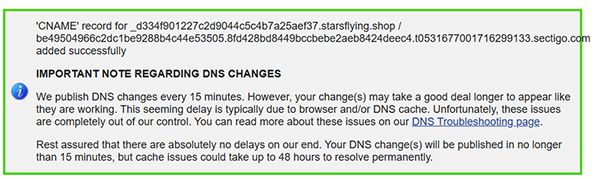
Note: Depending on the policies of different domain registration agencies and agents, authentication may take some time, but generally can be completed within one hour.
⬇
Part 3: Obtain SSL Certificate.
3.1 After completing Part 2, users need to wait for a certain amount of time, usually within 1 hour. After 1 hour, open or refresh the NiiHost user console. The SSL certificate page will appear as shown in the image below.
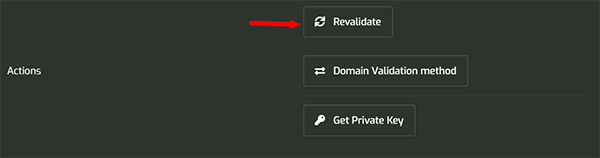
3.2 If the result shown in the image from 3.1 does not appear, users can click the Revalidate button in the image below to attempt a refresh.
-----------------------------------------------------------------------------------------------
This article ends.
